Writing a
A
This article provides a detailed orientation with a practical guide on how to write
How to Write a Montessori Lesson Plan
No teacher,
Here are the essential components of a well-written
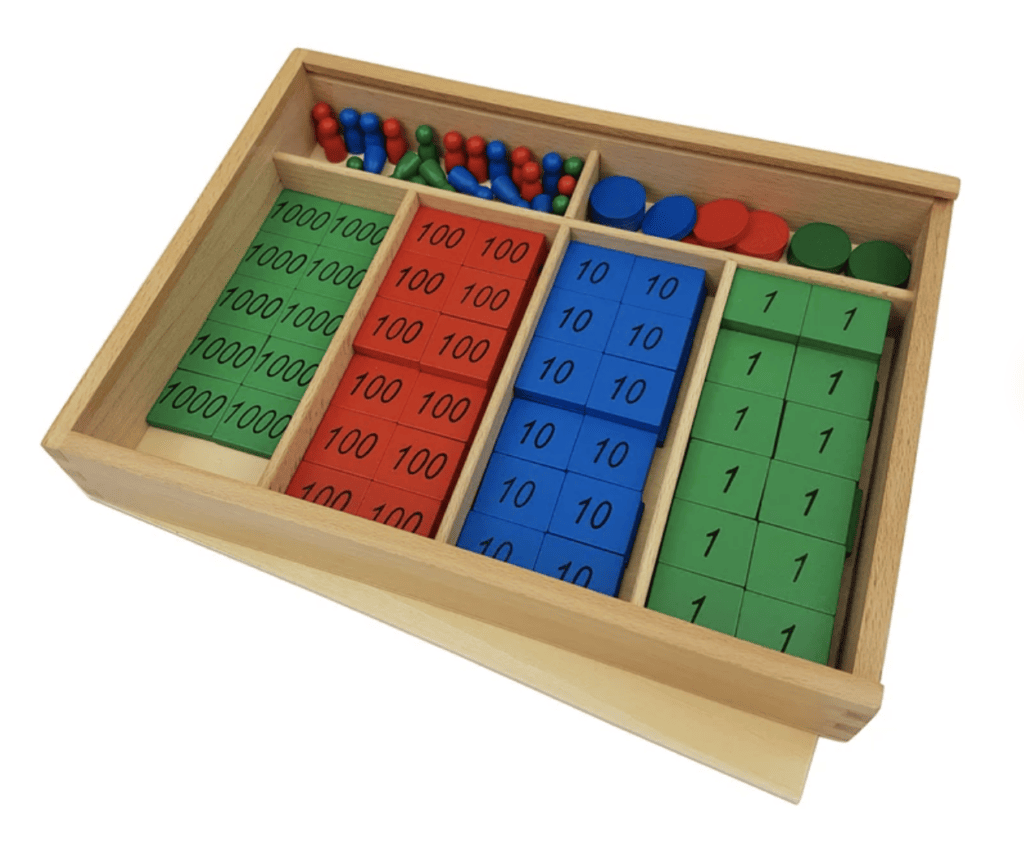
- Name of Exercise/Activity: The directress plans the materials according to the child’s age. She plans one age-appropriate activity from each of the curriculum areas. The child has to go through all five curriculum areas daily. For instance, the teacher plans a large button from the Practical Life Exercises, Pink Tower from Sensorial Education, Number Rod from Mathematics, the Pink reading list from the Language Curriculum, and floating and Sinking objects from the Cultural Subjects.
- Age: In a typical
Montessori school, children between 2 and 5 years or 3 and 6 years are grouped vertically in the same classroom. The teacher considers the age of each child or group of children while planning each lesson.
- Description of Materials: The directress describes the materials. Pink Tower: ten pink wooden cubes varying in size from one cubic decimeter. Floating and Sinking Objects: a bowl of water, a plastic mat under the bowl, a drying cloth, and an apron. The essence of describing the material is to enable the teacher to prepare the materials before the Presentation.
- Learning Objectives: Stating the learning objective is integral to writing a
Montessori lesson. The lesson plan helps the teacher track the learning outcome of the lesson. The learning objectives of the Pink Tower are:
- Develop the child’s visual and muscular perception of dimension in Judging sizes.
- Develop the child’s coordination of movement and fine motor control.
- Prepares the child, indirectly, for Mathematics by giving the experiences in comparison, grading, and serration with the cube.
- Learn the basic language important in Mathematics example, cube, grading, and comparison.
5. Control of Error:
6. Presentation: This is a step-by-step presentation of the activity to the child. Here is how the teacher can plan the Presentation for the lesson on Color Box 1:
- The directress first shows the child how to carry the color tablets to the table, holding the box with both hands at the side.
- The directress sits beside the child and places the color box in front of the child. She shows the child how to take out the color from the box by holding them at the wooden edge with three fingers: the thumb on edge and the 2nd and 3rd fingers on the other edge.
- All the tablets are removed from the box and placed randomly on the table mat.
- The directress picks up one tablet and asks the child to find another tablet of the same color, placing the matched pairs side by side together. The directress continues in this manner till the three colors are matched.
- Directress then uses the Three Period Lesson to introduce the names of “colors, blue, red, yellow.”
- When the Presentation is completed, the directress shows how to put the tablets back into the box and then returns the box to the shelf, holding the box with two hands.
7. Variations and Extensions: The
Example of a Well-Written Montessori Lesson Plan
Name of Activities: Polishing Shoes
Age: 3-6 Years
Description of Materials: A shoe, shoe polish, felt cloth, and newspaper.
Objectives:
- To teach a child how to polish shoes
- To develop the child’s eye-hand coordination
- To develop the child’s concentration
- To develop the child’s independence
- To develop the child’s self-esteem
Control of Error: The control of error for this activity is visual. The child can see how shiny the shoes became after polishing.
Presentation:
- Polishing Shoe is an individual presentation.
- Directress lays out the piece of newspaper on the table, takes the material out from the tray, and lays them in a row on the newspaper starting from left to right in the following order- Shoe, shoe polish, brush, and the felt cloth.
- Directress takes the brush and dabs lightly into the shoe polish with her right hand.
- Insert with left hand into the Shoe, hold it up and then start polishing the Shoe by using the brush to apply it using a bushing movement.
- When completed, use the felt cloth to shine by wiping the Shoe.
Exercise: The child is encouraged to repeat the exercise. Remind the child to pack the materials and return them to the designated shelf.
Extensions and Variations: The child is asked to clean and polish her shoes.
A teacher must be ready to serve the children by creating the lesson before the Presentation. The teacher must see that
How to Present the
The
The
The work cycle is defined as all the actions of the child from the beginning to the end of any activity carried out in a
Step 1: The directress invites the child to work with the material, e.g., Joe, would you like to work with me on material from the practical life shelf?
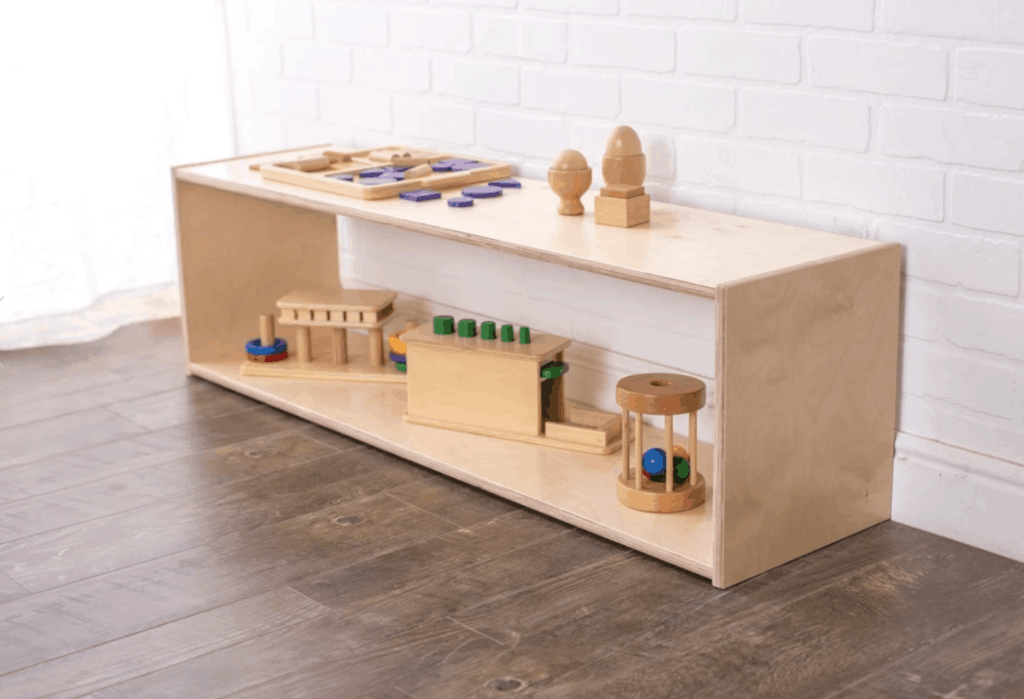
Step 2: She takes the child to the shelf, shows the child material, and names it, e.g., This is the bow dressing frame. It is a floor exercise.
Step 3: She invites the child to choose a workspace. She says, “Joe can you choose a workspace? This material is a floor exercise”. The child selects a workspace, gets a floor mat, and unrolls it on the chosen workspace.
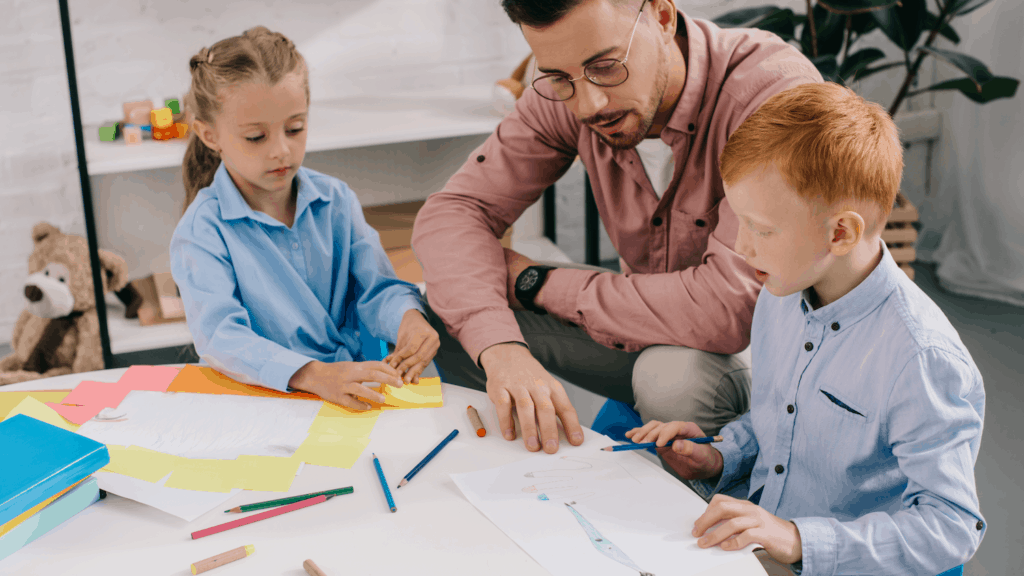
Step 4: The directress sits next to the child on the child’s dominant side, which is usually the right side. If the child is left-handed, then sit on the left side of the child.
Step 5: The directress places the material in front of the child and presents the material slowly and carefully. While presenting the material to the child, maintain eye contact to ensure that the child is focused on the Presentation.
Step 6: The directress invites the child to carry out the activity. She says, “Joey, would you like to take a turn?” The child takes a turn repeating the activity.
Step 7: Having completed the activity, the directress asks the child if they want to continue the exercise. If not, the child is encouraged to return the material to the designated shelf.
Montessori Lesson Plan and Presentation
Montessori lesson planning and Presentation are of three approaches; collective, group, and individual. The directress decides which type of Presentation to make after taking into consideration the child/children learning needs and the nature of the activities.
- Collective Presentation: The directress shows the whole class how to perform specific tasks, for example, circle time, storytime, social skills, classroom conducts, how to carry chairs and tables, use of workspace opening and closing of the door, washing and drying of hands, use of books, painting and drawing, care of garden and pets and so on. Collective Presentation should be impeded in the lesson plan.
- Group Presentation: is conducted to a small group of children of the same age group learning a specific task, for example, walking in line, folding clothes, caring for teeth, caring for nails, caring for hair, sweeping, washing up, scrubbing of the floor, planting of seeds, and science experiments.
- Individual Presentation: this is conducted where there is a need for one-to-one interaction with the child. Most of the activities in the Sensorial Education, Language, Mathematics, and cultural Subjects are presented individually, for example, pink tower, red rods, pink series, blue series, water cycle, solar systems, and so on.
The
The
Check out our Guide to Montessori Lessons for more information.